🧤 How To Dive Like A Pro: Essential Goalkeeper Drills
- conorokeefe2
- Apr 21, 2025
- 5 min read
Diving is a fundamental skill for any goalkeeper. But how do you transform your dive from an uncoordinated fall, into a powerful top corner save? In this blog, we'll break down the key drills and techniques to help you dive like a pro!
And if you still need some extra tips to help, then you can see a full demonstration of the drills here:
Goalkeeper Diving Tutorial - The Basics of a Safe Dive
Before we dive (apologies) into drills, it's crucial to understand the mechanics of a safe and effective dive. Many beginner goalies struggle with their dives due to a fear of hurting themselves when they land. When executed properly, a dive is completely safe - I have dived thousands of times in my life, and understanding how to dive is the best way to protect from injury!
Approach: Keep your weight forward and step into the dive. This will allow you to dive forwards, on a 'positive' angle, and prevent you from diving into your goal posts if you are diving from your goal-line.
Lead Leg: Try to push with the leg on the side that you are diving towards. So if you are diving to your left, you want to step in to your dive with your left leg. This allows you to generate more power in your dive.
Contact Point: Aim to make contact with the ground using your hip and your side, not your shoulder, to prevent injury. Many beginner goalies land on their front when they first start to dive - the following drills should help to build the correct habits of landing on their side! Soccer Source Coaching
Drill 1 - From the Floor
For our first drill, we want to get used to the shape, landing, and hand position for our dives. So, get the GK to start on their side, sitting up on their hip with their legs to one side, like below:

We then want to play the ball to the side of the goalkeeper, to mimic a dive. The goalkeeper will meet the ball with their hands, one behind and one on top, to trap the ball against the floor. The final position will show the GK the correct dive shape; they will be lying on their side, on a positive angle, with the ball out in front of them.
Starting on their side removes any fear of falling, and encourages the GK to get used to the impact of the ground from a minimal height.


Drill 2 - From the Knees
Next, we want to take the GK up a level, beginning the dive from slightly higher, with their starting position on their knees.

The previous drill allowed the Goalkeeper to learn the basics on making a low dive, when the ball is shot along the floor. For this drill, we are replicating a mid-height dive, where the ball is played through the air.
Therefore, we want to throw the ball to the side of the goalkeeper, and encourage them to meet the ball with their hands. It is a different hand shape for this save - instead of one hand behind the ball and one hand on top, we now want the GK to have both hands behind the ball for the catch.
The Goalkeeper will then fall to the side, landing on the side of their body, and keeping hold of the ball. We still want to encourage the GK to dive on a positive angle if possible - this is due to the fact that if the GK can't keep hold of the ball, a positive angled dive will have a greater chance of diverting the shot away from the goal, rather than back into the net.


Drill 3 - A Soft Landing
Next, we want to get our GKs learning to dive from their feet.
Diving from the feet introduces some footwork to our dives - we want to encourage the Goalkeeper to step into the dive, generating power from their lead leg, and pushing off with the final step.
To make the progression from kneeling to standing a little easier for any uncertain goalkeepers, we add a soft surface for them to land on, hopefully removing the fear of landing on the ground.
At our coaching facility GKHQ we use a crash matt, but you may need to get creative if you want to replicate this drill at home!

For this drill, we will continue to throw the ball to the side of the goalkeeper, above the soft landing surface.
Just like the previous drill, we want to encourage the GK to dive forward, meet the ball with both hands, but now we are adding in that power step off the lead leg before the dive.
The landing is key in this drill - it is the first time that the GK is diving from a full standing position, so ensure that they are landing safely on their side.


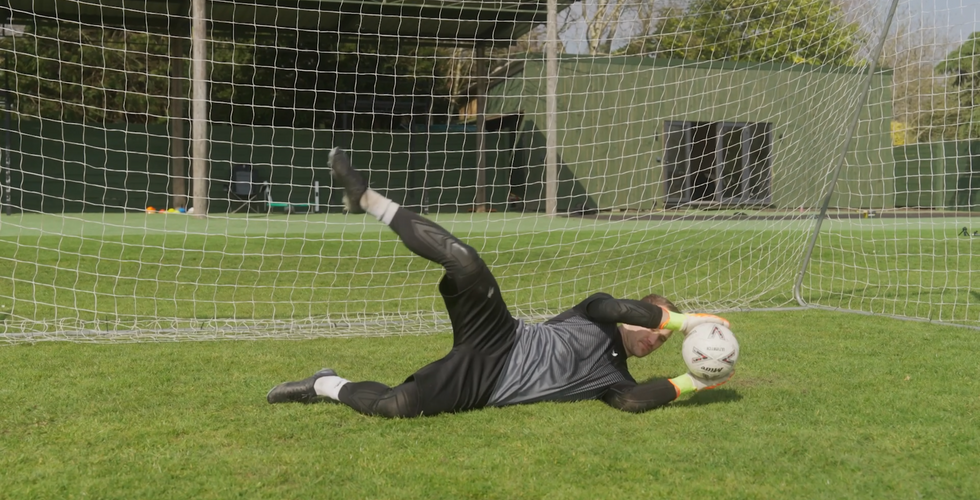
Drill 4 - Putting it all Together
Finally, we want to put all these steps together in our final drill - making low or mid-height saves, onto the ground, from a standing position.
So, we remove the crash matt, and place the GK in the goal.

We then want to serve the ball, wither along the floor or through the air. Building up from the previous drills, our goalkeeper should now be able to complete the basics of diving in this drill:
Stepping into the dive with their lead leg
Diving forwards on a positive angle
Meeting the ball with their hands and either trapping it against the floor if its a low dive, or catching the ball if it's a mid-height dive.
Landing on the side of their body to protect themselves from injury.
It is key that GKs should be able to complete these drills diving to both sides of the goal, to prevent them developing a 'weak side' with their dive.


Final Tips
For goalkeepers that want to take their dives to the next level, and get up into those top corners, plyometric exercises can enhance your explosive power, aiding in quicker and more powerful dives.
Consider integrating the following exercises into your training routine:
Box Jumps: Improves vertical leap.
Lateral Bounds: Enhances lateral movement.
Depth Jumps: Boosts reaction time and power.
For a comprehensive guide, check out our full Goalkeeper Plyometrics Programme:
Conclusion
Mastering the art of diving requires dedication, proper technique, and consistent practice. By incorporating these drills and tips into your training routine, we hope you'll be well on your way to diving like a pro!
For more Goalkeeper Training Programmes and tips, make sure you check out our shop, and the rest of our blog pieces!


Comments